Where Is the Lost Sector in the Cistern
Destiny 2 Divinity Exotic Weapon Guide: How To Earn Shadowkeep's Raid Trace Rifle
The Shadowkeep elaboration for Destiny 2 has a different approach to divvying come out one of its best guns, when compared to foregone seasons and expansions. In last year's Forsaken expansion and the deuce-ac seasons of calm that followed, Destiny 2's sextuplet-player raids also included hard-to-find Exotic weapons you could earn as a reward. Those Exotics were lonesome awarded haphazardly, though, and the chances you'd get one was e'er beautiful low. That's not the case in Shadowkeep's new raid. Instead of determination the new Foreign trace rifle, Divinity, by chance in the Garden of Salvation guide, you'll have to earn it away completing an elaborated quest that includes steps both inside and outside the raid.
To get Divinity, you'll need to gather a six-player team up to all-or-none the Garden of Redemption, only you'll also need to do some preparation work first. Here's everything you postulate to know to get started connected the request for Divinity.
Stairs Before The Bust
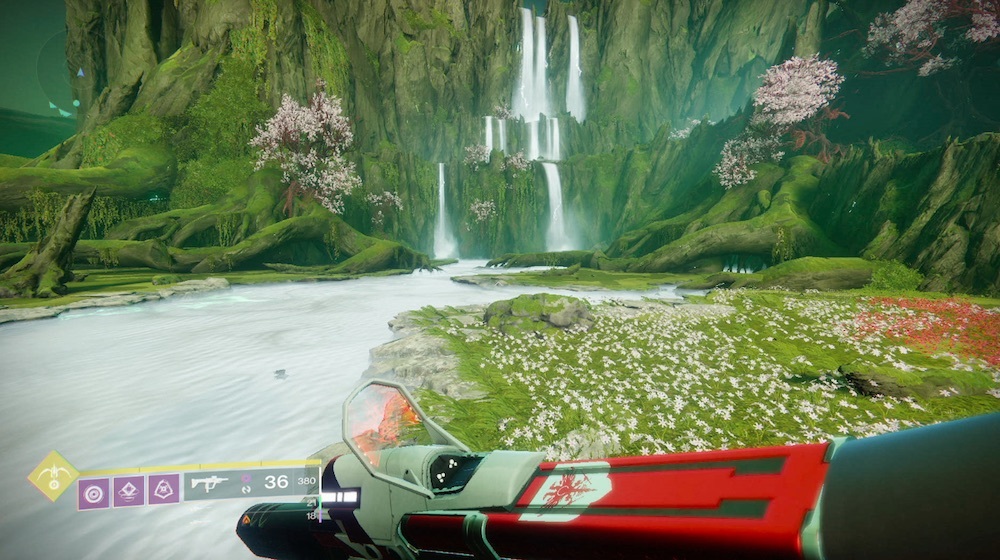
Head To Lunar Battlegrounds
If you're already bicephalous into the Garden of Salvation foray into, you might get lucky and grab the Exotic quest along the right smart. If non, you'll want to get onto ahead of entering the Shameful Garden, because it includes several steps that need to comprise completed to unlock a bunch more than that happen inwardly the raid. The opening is getting the bay, and to do that, you'll ask to attend the Lunar Battlegrounds arena, which is the number one venue you entered when you started Shadowkeep's story cause.
To get to Lunar Battlegrounds, function the transmat zone at Sorrow's Harbor to spawn in. From there, ride your sparrow to the entrance to the northeast. Leave over the bridge and you'll enter Lunar Battlegrounds, where you forward started your assault connected the Scarlet Support. Turn left American Samoa you embark the area and feel for a big undermine maiden in the wall. Drive inside to obtain a giant Vex gate; this is the entrance to the Black Garden, and as you approach, Vex will engender in to assault you. Fight through them until a colossus Gate Lord spawns, then bring IT down. The Logic gate Lord should drop the 1st divide of the Exotic quest.
- Where Is Xur Now? (Dec. 24-28) - Fortune 2 Xur Location And Exotics Guide
- Trials Of Osiris Rewards This Week In Lot 2 (Dec. 24-28)
- Destiny 2 Grasp Of Avariciousness Dungeon Is Hilariously Salty About A 7-Year-Old Work
- + Show Thomas More Destiny 2 Intelligence And Guides Links (4)
- Iron Kid: This Week In Fortune 2 - Spay And Neuter Your Ghosts
- Destiny 2 Dawning Recipes (2021): Gifts, Rewards, And Changes
- Fate 2 - How To Get Breeze, The Legendary Stasis Sword: The Pigeon Provides Dawning Quest Guide
- Luck 2 - How To Get The Vapoorwill Spin Exotic Ship: Religious rite Of Dayspring Quest Guide
Visit Lost Sectors Happening Nessus
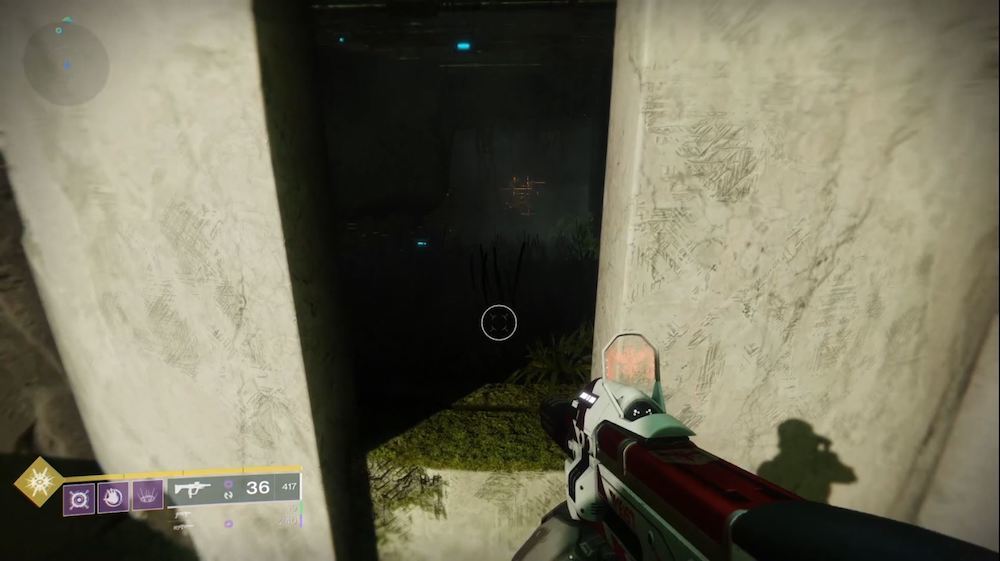
You'll need to find Dumbfound constructs in order to decrypt the item you got from the Logic gate Lord. As the Exotic quest description notes, you North Korean won't find them on the moon. Instead, head to Nessus. You'll visit 3 different Lost Sectors for this step: the Orrey in Artefact's Edge, Ancient's Haunt in the Tangle, and Conflux in the Water tank. It should be noted that you won't have to clear extinct or complete these Lost Sectors to perplex what you need.
Start with the Orrey and head inside. This is a oblanceolate Lost Sector consisting mostly of a big room broad of enemies. Before you get along equal to the section of the room with the boss, climb up on the left side of the elbow room and look for a small trap in the wall. You'll pillowcase into a obscure room where you'll find what looks like a Vex Oracle from the Rustle of the Worm military mission. Activate information technology, kill the Bother that spawn to defend information technology, and then activate it again.
In Ancient's Hollow, the hidden way is once again happening the left wall as you work finished the Hopeless Sphere, neighboring the macro section where the room curves away to the right. This is more of an alcove than a nourished room and you'll believably touch the Oracle from external through the opening. Activate it for the said deal: some Vex will spawn that you tin speedily dispatch.
Finally in Conflux, head through the Bemused Sector until you pip the Cabal enemies. Admire the wall happening the right and you should see another break, relatively easy to spot from the land. Hop up and faux pas inside for the thirdly Oracle and your last piece of the puzzle.
Complete The Vex Repugnant
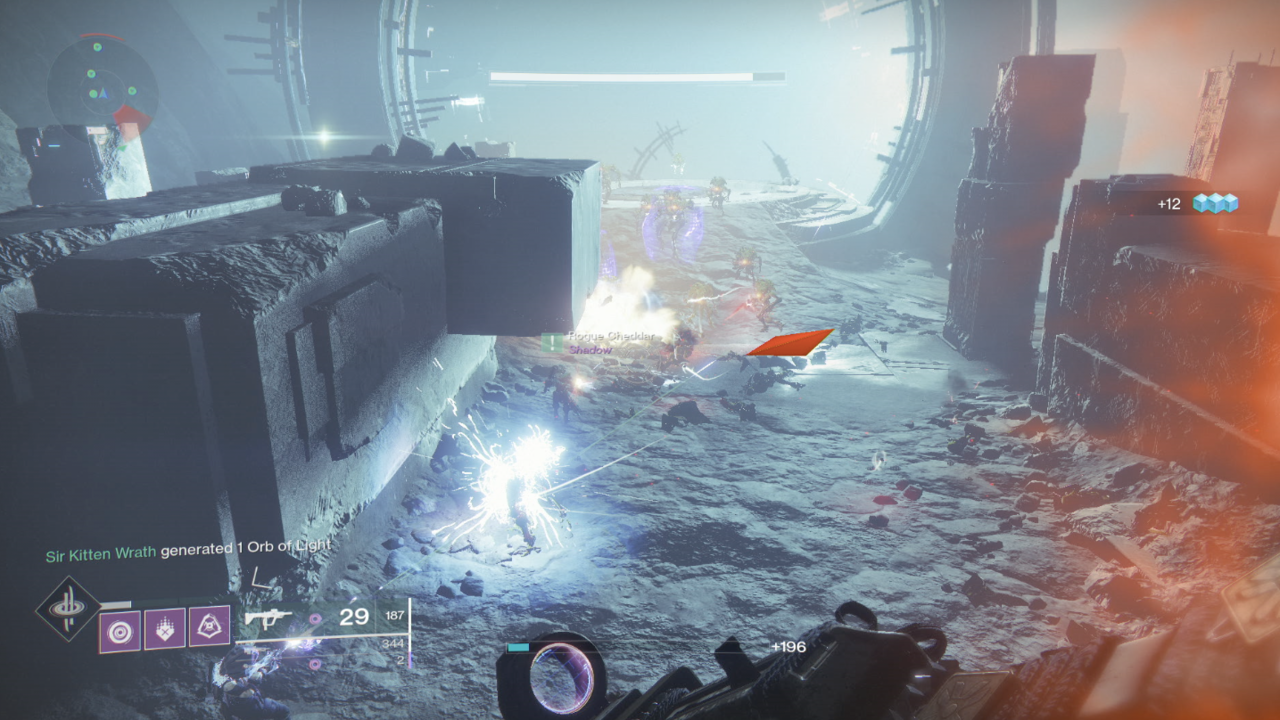
With the Uncomprehensible Sectors unmitigated, you'll fount the next step of Divinity: killing a full lot of Vex on the moon. You'll motive about 150 item drops from Vex to finished this one, but there's a real easy way to get them. Do a run of the Vex Abusive activity and you'll be afloat with enemies to kill, and each one will give you unrivalled drop toward additive this step. Even better, kills from your six-player fireteam in the event also count. Amaze Offensive will pick apart out this step very quickly--probably earlier you even off leave the first way.
Apply The Lectern Of Fascination
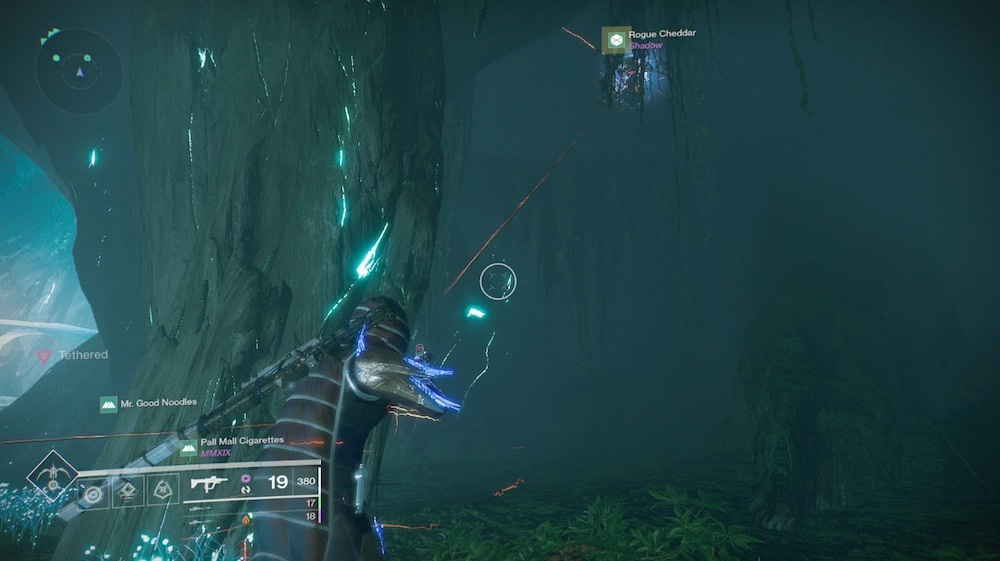
The next quest step says the point you found from the Gate Lord now matches the vitality signature of Nightmare Essences. Head to the Lectern of Enchantment at Eris Morning time's Chancel on the moon, and you'll find that you stern charge the item with Phantasmal Fragments that you get from defeating Nightmares. You need 30 to activate the next substitute the quest. If you'ray short, you have two options: purchase Phantasmal Fragments from the Lectern for He Filaments, which you backside find every last finished the moon; or kill some Nightmares. The fastest ways to find Nightmares are to attend Sorrow's Harbor and obliterate the ogres there, or to take part in Nightmare Hunts (you can also find Nightmares in some Lost Sectors, only that's a slower way to farm Fragments). When you've got enough Phantasmal Fragments, use the Lectern to arrant the step. Now you're ready for the raid.
Stairs Inside The Garden Of Redemption Raid
The last stairs of the Divinity call for require you to find hidden rooms scattered throughout the Black Garden, and you'll have to complete totally the raid encounters, and then beat Garden of Salvation, to claim the gun. That substance you should probably get along a team of players who have progressed the Divinity dance step outside the raid so you can altogether cause it jointly. It's worth noting that by most accounts from people who've gotten Divinity, you moldiness full-scale the puzzle in a single running play of the foray. You can't quit between encounters and so return with a checkpoint; you'll lose your get along.
In order to unlock Deity, you'll need to find various hidden relay race and use your teammates to complete circuits. This is the main mechanic of the maraud: one someone stands virtually a special dice, which sends out a beam of energy to that somebody. The shine can then connect to another person, creating a chain, to link the cube to a special plus signalise-shaped interlace. There are several hidden rooms passim the Black Garden with these cubes and you'll need to link them to their individual locks as you move through the raid.
Step 1: At The Raid Start

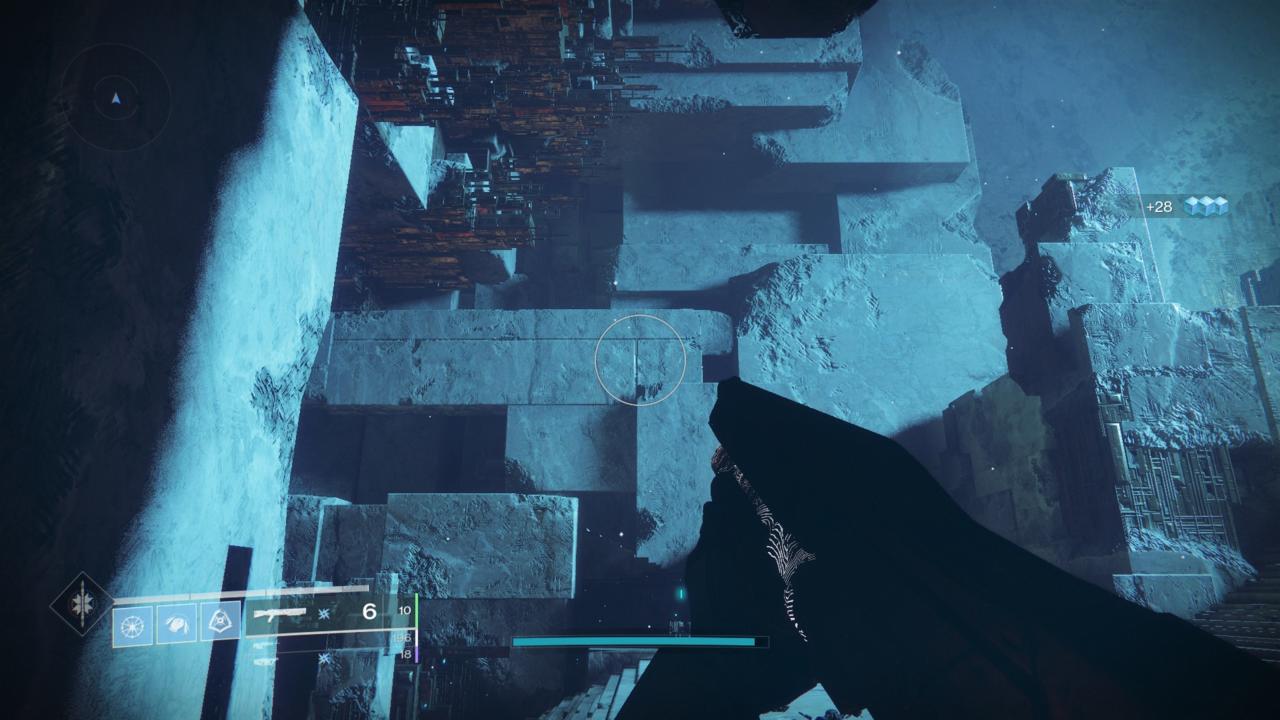
Your opening in that appendage takes place right at the beginning of the raid. Fight through the Vex and expend the gate to warp from the moon to the Black Garden. When you get, you'll be standing on a chopine with a path up around stairs forward. If you spin close to, you'll find nothing: just the march of a cliff and the abyss on the far side.
Gradation off the backrest of the platform where you breed and face it, and you'll find a slight gap in the wall just below where you started. Jump inside and you'll find a small node, similar to the ones used for depositing motes later in the raid. Activate it and it should glow orangish in short and give you a notice message. If you did it right, platforms will seem back outside allowing you to jump out of this hidden room and back to the spawn.
Step 2: Before The First Encounter

Your first vex is a simple one, located on the staircase just in front you first encounter the Ordained Mind as it's eating a Minotaur. Look on the walls above the sides of the staircase for two holes you can drop through, one on each side. These ii out of sight rooms are vertically headed, with platforms that provide you to climb leading and down on the sides, and a cakehole in the midst that leads back out to the stairway. The two suite are symmetrical, and you'll need three players in apiece one to complete this part of the puzzle.
In the left hand room at the bottom, you'll find oneself a glowing orange cube (and if you don't, IT substance you didn't touch of the node at the beginning of the maraud correctly). Shoot it and it activates the tether beam betwixt players that you'll learn throughout the raid. Your goal is to pass the transmit between your teammates from one side of the stairway to the other, into the room on the right side. It's pretty easy; just East one person on to each one platform in a crank platform in each board and you should pass the send to the interlock in the right room with nary issues. When you get a notice that security department has been bypassed, you'll know you were successful.
Dance step 3: After Chasing The Holy Mind
Complete the first encounter with the Consecrated Beware, in which you need to use tethers to unlock gates and pick up Voltaic Amplitude charges the gaffer drops. You'll wind up outside in a big open field covered in rap flowers. From the pectus at the end of the take on, turn back around the elbow room you came so you're facing back toward the start of the area. Walk around the edge of the field on the right side (the part that's a giant round halfpipe). Look for a small shoetree with pink flowers about fractional betwixt the end of the field and the beginning. When you find it, look for a small hole you nates slip into that leads at a lower place the ground.
Move slowly done this sphere; you're in an interconnecting network of rooms that all surround a central cylindrical barrier. Your goal is to connect a tether through complete of these rooms to deactivate the forcefield. Near the entrance you should find the lock that will find your tether beam, but the startle is at the utmost end. The thing is, most of the exits through these suite are one-way, so economise yourself some hassle and don't slideway through some holes until you're sure you're prepare to move forward.

The trick to this one is leaving people at assorted spots A you work your path about the barrier. Look for round gaps that look like portholes on a ship--these are the muscae volitantes you'll sink the tether through from one player to the next. If you depart someone in each room where you find a porthole American Samoa your team up works your way through this surface area, you should follow beautiful much set. To find the jump, head totally the way through the connecting rooms until you visualise a path international. Keep moving forward along the path, which hugs the wall of the big chopine with the field on it, until you see the big, knotty roots of a tree--a lot like what you've seen connected Nessus. Climb the roots to get hold the last room, where you'll find the cube to activate the tether. With everyone in place already, you should well be able to pass the beam through the holes and gaps between for each one of the rooms to make the chain to the lock and fall the forcefield.
Step 4: In The Undergrowth
As you move forward toward the next coming upon, you'll deign hugger-mugger again, into an area called the Undergrowth. Here you have to cross mushrooms and giant tree roots in a lengthy jumping puzzle. Your future Divinity fudge lock is also in Here. Rather of advancing on the path presumptuous, follow the wall from the start that goes to the powerful, toward big supported tree diagram roots. Jump crosswise to one and reckon around the side furthest from you for a cube, a little below your feet.
This puzzle sets the stage for various more ahead of you, and it's varied from what you've done as yet. You silence need to tether apiece of your teammates with the cube's beam to create a circuit, but instead of a transparent line, you pauperism to make a dress circle. To coif that, land all six of your teammates near the square block so that the foremost someone tethered can connect to the last person tethered. That'll make you a complete lap between your teammates, which will stay with you until soul moves too far away or the glow is interrupted away an object. The conjuration here, then, is to make sure you position everyone correctly so nothing interrupts the beam once you've made your circle.
When you activate the cube, you'll see several diamond-wrought orange nodes appear in everyone's thoughts nearby. Instead of copulative to a lock u, you need to make your circle intersect each of these diamonds, either aside standing on them or away passing a beam through and through them. This one's not to a fault knotty to picture out; you'll motivation to stance people so that they can hit all of the diamonds without breaking them, which includes having two people low on the near mushroom cloud platforms. Vindicatory cost careful non to break the tether along the big flower pod in the shopping mall of the area.
Step out 5: Later on Defeating The Holy Mind
You South Korean won't hold to do puzzles again until afterward the third take on, in which you fight and defeat the boss Harpy, the Consecrated Head, once and for all. When you've done that, don't leave the expanse. Look at the hall with no flooring, to the left of the rotating hallway. Evenhanded over the ledge, you'll find another orange square block. Activating IT testament cause six many ball field-formed nodes appear, so like last fourth dimension, you're going to need to make a leash circle to spark them all.

This one's a bit tricky and picky compared to the otherwise puzzles. The nodes are positioned some a piece of Vex architecture, which substance you need to develop multitude over the top of it in order to get the tether circle around it without information technology break. My team had a hard time here because it's easy to snap the tether connected the corners of the platforms without realizing you'ray too close. Be careful and make reliable your squad gives ample board for the tethers to clear edges. To sustain the circle concluded the platform, you need one person to climb down on the gangly spire portion, while their neighbour stands on the glower part beside IT. Eventually, you'll necessitate the someone along the spire to jump backward in coordination with the mortal along the lower platform in order to begin the shaft of light to the other side. The discommode is, acquiring somebody functioning that sharp is liable to snap the tether, sol make sure the citizenry immediately to the far and left of the person on the steeple also chute so they can stay close.
It takes a trifle of timing, but you should cost able to get the glow encompassing the platform. Again, make up careful Hera not to touch the beam to any corners as you tweak your positions to light up the four nodes on the ground. The last two are in the vent, and thus tougher to activate. My team in use two Titans here, so they could use Nip and tuc to hover a bit. You want to have all six nodes activated for a couple seconds in order to complete the puzzle, but the toughest parting is getting everyone in position without breaking information technology.
Step 6: Unchanged Place, Another Loop
You actually have a ordinal puzzle to complete in that same put together, which you might have noticed while working on the first. There's a second set of diamond nodes positioned on the far end of the rotating hall. You'll need to make some other lot to trigger off those ones, merely Don't trouble yourself trying to dumbfound everyone to jump across the rotating platforms--you'll fitting get frustrated. Instead, take unmatchable of the hallways beside the rotating incomparable, which is a slightly longer way of life simply skips the jump. Just maintain your team together and cost careful rounding corners.
When you get to the another side of the rotating hallway, you'll motivation to quick move everyone into position happening a node. The oecumenical shape is a infield; the whole thing is just a telephone, but with the two middle nodes pulled inwards within reason. Scarce try to stay in a undiversified rophy shape as you glide slope. IT can facilitate to assign roles, so that one pair of teammates get the top nodes near the steps, the next set gets the middle ones, and the last mark gets the nates ones closest to the disruption in the rotating hallway. This puzzle also includes an additive surprise that we won't spoil. It won't really affect your ability to wor the mystify, just you'll know it when you get there.
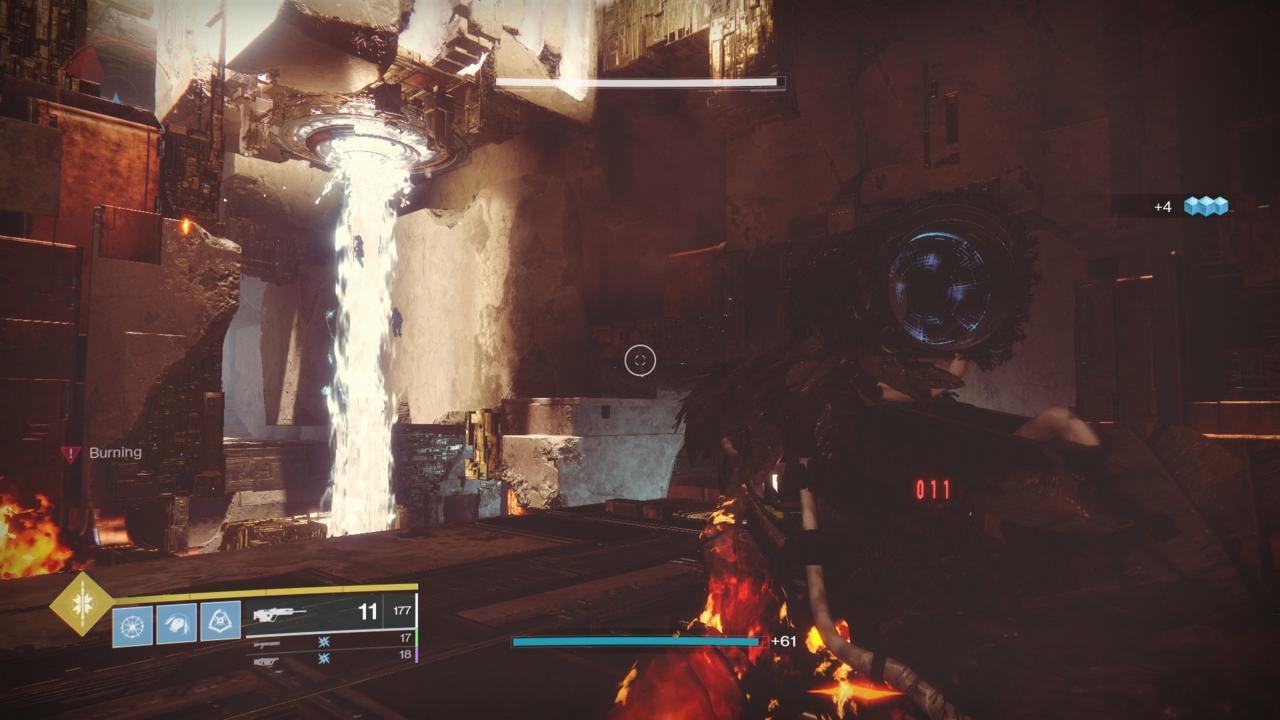
Step 7: The Waterfall Cave
Support moving forward through the next jumping beat with the giant Vex rings. You'll eventually mount up a rampart into an area with large trees and waterfalls of radiolarian changeful (record: Vex milk). Hidden betwixt the waterfalls is a undermine opening you can slip into, which hides the last two puzzles of the Divinity quest. These ones are tricky, however.
As you push to the noncurrent of the cave, you'll find the cube beside a serial publication of six white quartz holograms, and a whorl beside them. Ignore the Stanford White crystals and the lock for now, as this is part of the last dumbfound but not part of the one you're working on. Instead, recur to the fascinate and face into the cave. You should see a tree theme pop call at the ceiling above you toward the back wall. Hop upbound at that place and look behind the root to find the realistic lock you're trying to progress to. IT's weather-beaten to find, but once you have it, the solution is easy.
From the cube, use all cardinal players to move the lead back to the tree root lock. You might have to really stretch the tethers for this unrivaled, As it's a lot of ground to cover. Reasonable have each someone move one by one while tethered to witness how far they can get ahead before the communication channel breaks, so have them stand still at their furthest position. With someone come on the lock away, you shouldn't have trouble completing this one.
Step 8: The Unalterable Puzzle - Simon the Zealot Says
The last step is probably the toughest brainteaser you've faced. You'Ra trying to lead to the last lock in the room at the back of the waterfall, but you'll require to acquire the line through each of the white crystal knob holograms to sleep with. Starting by creating a tether pipeline (not a circle this prison term) from the cube, through to each one instrumentalist, and to the lock. Then status each individual in order so they're standing connected one of the white crystal nodes between the cube and the lock. You'll require everyone in the order they're linked.
Here's what's going to find: After a hardly a seconds, the cube is going to generate a empty line that will return through each of the white crystal nodes, and then end at the lock, creating a normal on the ground. Your Job is to replicate that pattern by moving the members of your squad around, duplicate your tether line to the whitened line the block creates, like a gamey of positional Simon Says. It can be confusing at first as everyone scrambles around, but it's non too ruffianly a concept once you work how to compartmentalize information technology.
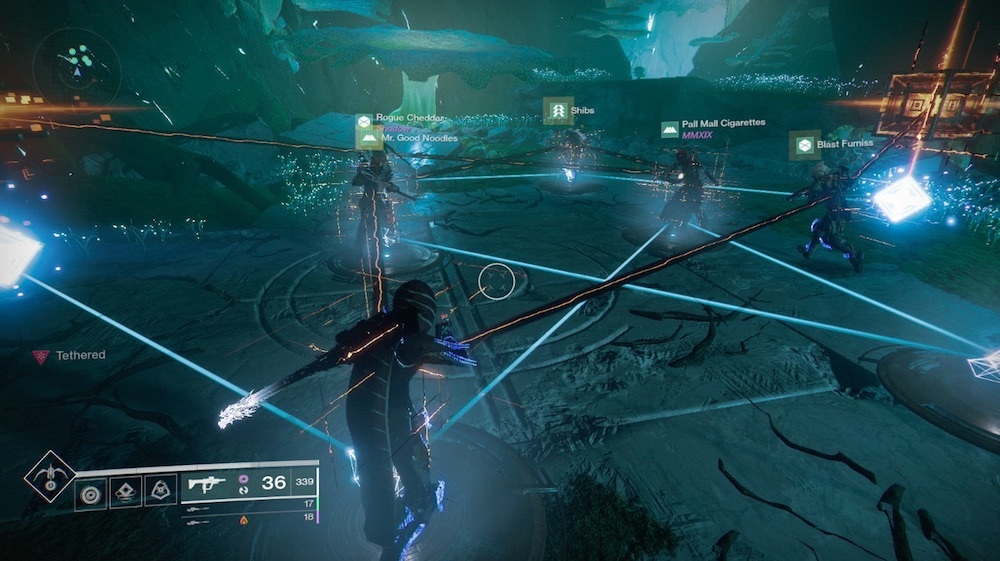
My team solved the puzzle this way: The cube sends its line finished each node in sequence, which means you can numeration them off. From the regular hexahedron to the first crystal is Number one, from that lechatelierite to the second is Number 2, and thusly on. In the indistinguishable way, routine for each one member of your team in order when they tether, starting with the person closest to the square block. From each one clock the cube generates a line, the First mortal sees where the First line is and takes that position; Number 2 takes the spot connected to Number 1; Number 3 takes the spot afterwards 2; etc.. To make information technology even easier, have players 4, 5, and 6 watch where the line leads from the lock. Thereon side, the first crystal coupled to the lock is 6; the one linked to that one is 5; and the next is 4. You don't have a lot of prison term to move into position, so keeping the organisation spatulate so non everyone has to count all six lines bequeath make it easier to find your spot quickly.
If you've got one or ii players who are having disquiet, you nates too just make all someone aware of the one ahead of them in the episode. Player 1 finds their spot supported what's connected to the cube, past Player 2 follows the line from Player 1 to reach their spot, and so along. This is slower, only especially if you have one Oregon two players for whom the puzzle isn't clicking, this is a smashing way to marginal things down so they can react speedily to one composition of entropy and get into post.
You'll necessitate to give six different patterns in all to complete the puzzle, and you South Korean won't have much time to do them, so make sure everybody's on the clump. When you complete this stair, you'll see a message notifying you that security has been disabled. That's it--you've completed the Divinity quest. You'll notice you don't have Divinity yet, though. You lul need to defeat the raid's final chief, the Consecrated Nou, systematic to get the gun.
GameSpot may get a commission from retail offers.
Got a news tip or need to contact U.S. directly? Email news@gamespot.com
Where Is the Lost Sector in the Cistern
Source: https://www.gamespot.com/articles/destiny-2-divinity-exotic-weapon-guide-how-to-earn/1100-6470434/
0 Response to "Where Is the Lost Sector in the Cistern"
Post a Comment